Making my own buttons

Inspiration

The cover of Buttons by Alan and Gillian Meredith, part of the Shire Books series on British and specifically Yorkshire history. The lower third of the cover is white and dedicated to the author names and title, but the upper section features an array of buttons on a green background.

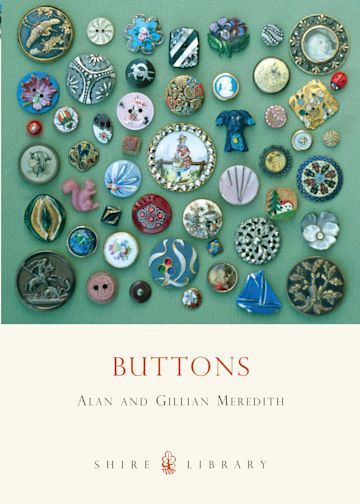
I recently bought this little book on button collecting, and I was inspired by it to have a go at designing my own. The section on the history of buttons in Britan was fascinating and it was really cool to see the patterns I'd noticed around me laid out like that.

First Print

A screenshot of a 3d model of a button. There is a raised design on it, of a lotus flower surrounded by leaves, under a disk representing the moon or sun. A 3d print of the previous model on a metal surface. The surface is slightly melted and uneven, and there are blobs and strings of filament between each design element.

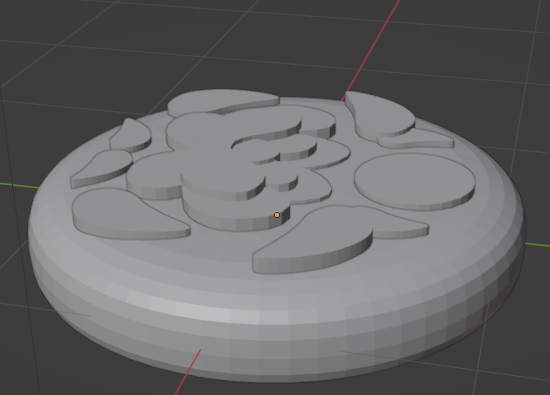
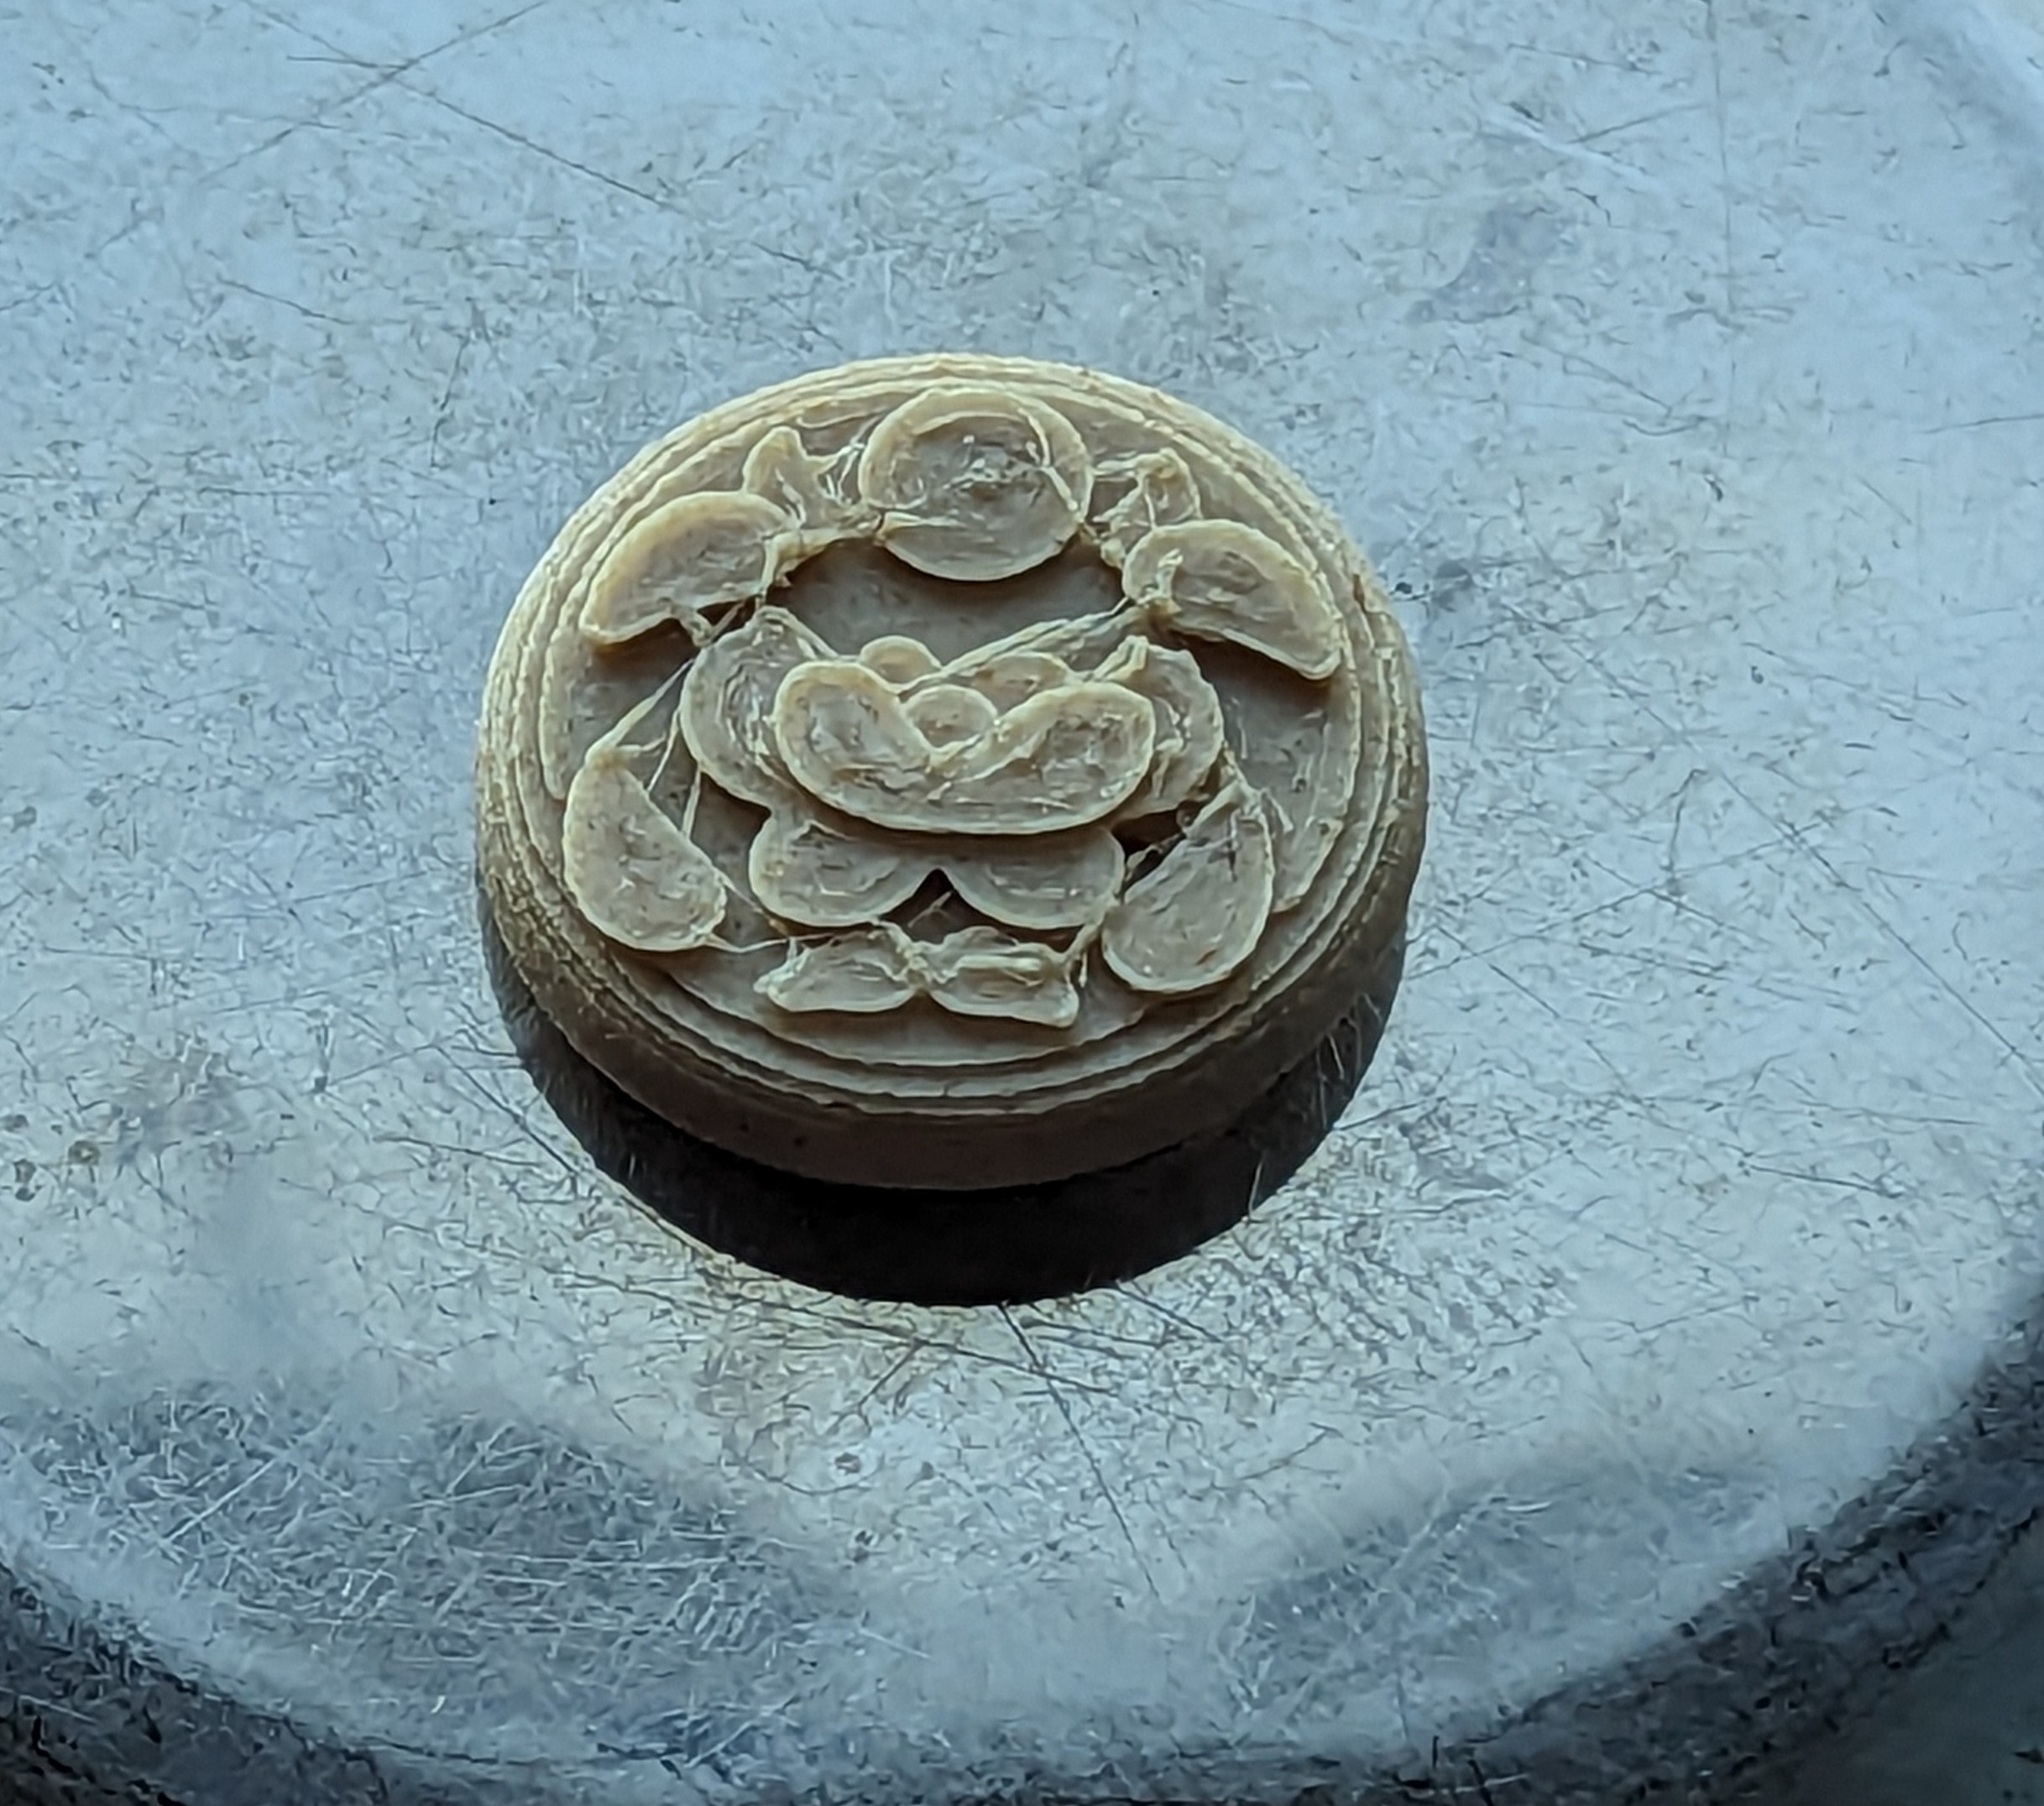
This is my first design in the modelling software, and the way it came out in my first, naive print. As you can see, stringing has broken up the pattern’s clarity quite a bit, and would take careful clipping to clean up.

The shank at the back also broke off, which is a bigger problem.

A diagram of a 3d printed shape. An arch is marked out in black and horizontal lines are marked throuh it in blue. The above diagram of a 3d printed shape, but with the arch broken along the arms, parallel to the blue lines. There are arrows pointing up, perpendicular to the blue layer lines.

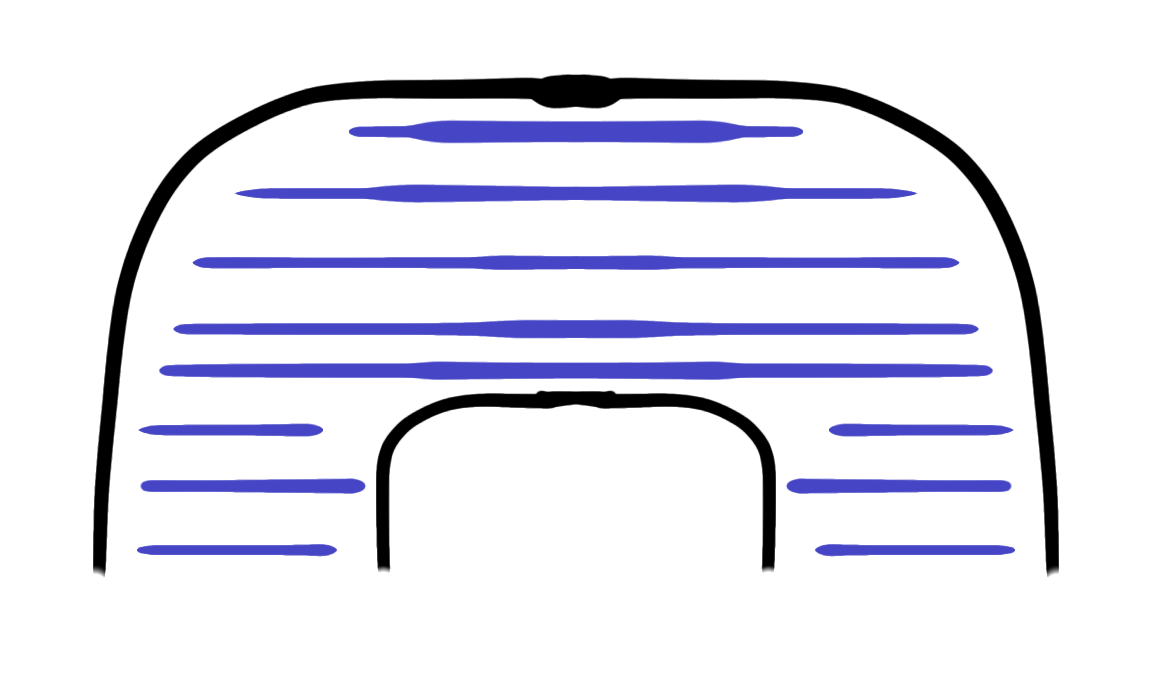
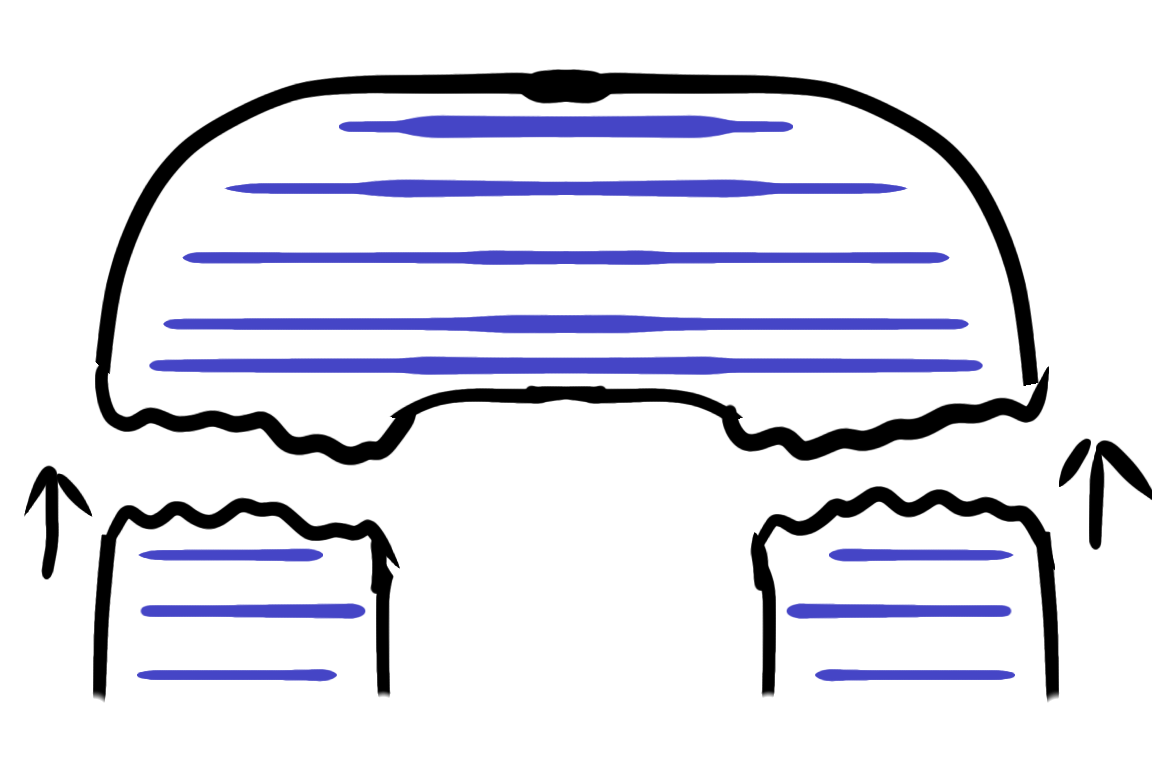
3d printing with wood has a major structural weakness, which is that the individual layers don't hold together very strongly. As you can see in this diagram, if you print with the disk of the button horizontal, the part of the shank that's under the most strain is between layer lines and breaks very easily.

A diagram of a 3d printed shape. There is an arch marked in black, and blue lines following its curve longways. The above diagram, with arrows pointing up. The arms of the arch are lengthened a bit, but not broken.

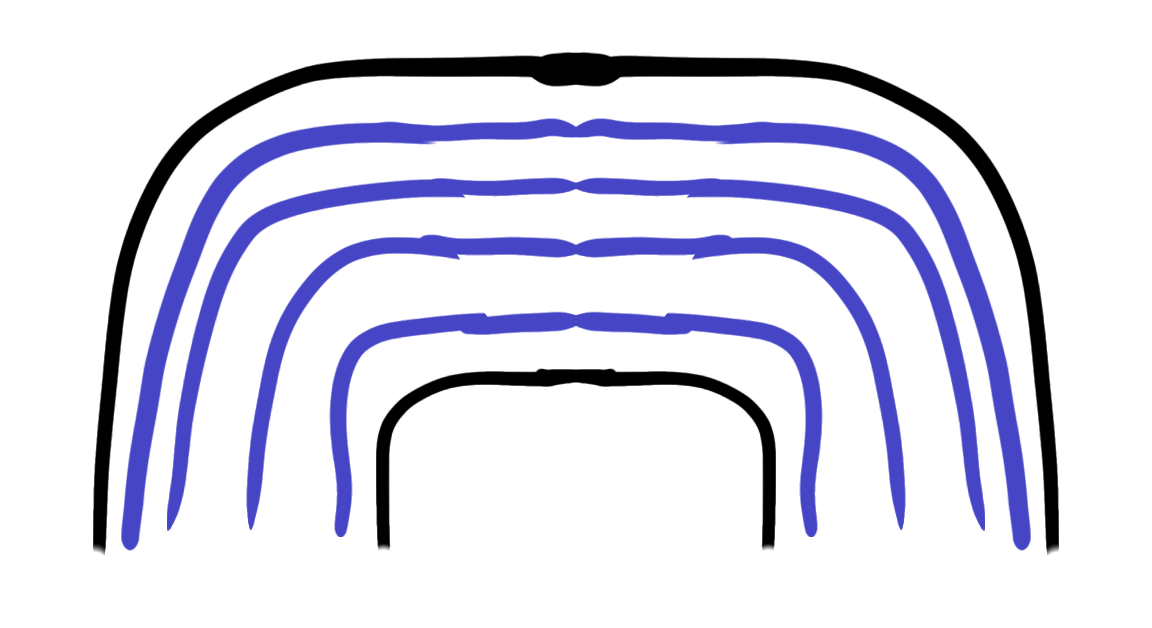
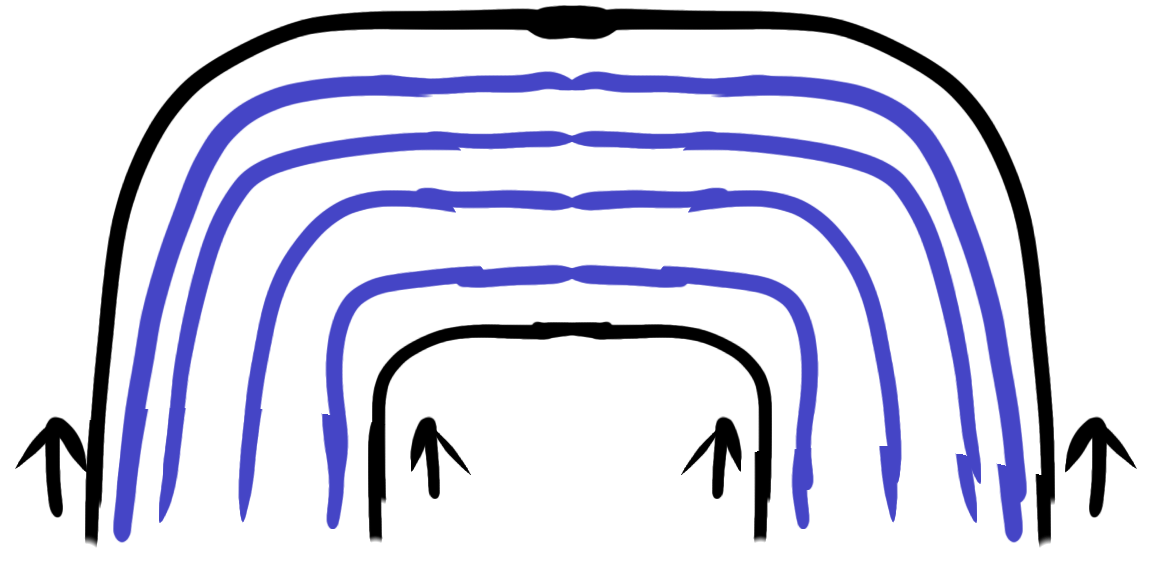
On the other hand, if you print vertically, whie you do need more support, the shank is printed with the arms running parallel to the layer lines, which plays into the strength of the wood fibre along the line of the filament. It might even reduce the stringing, or at least make it easier to handle.

Success!

A photograph of four buttons 3d printed with wood filament on a wooden table. They all have a design of a lotus surrounded by leaves under a disk representing the sun or moon. Two of them have it potruding out in layers and two have it inverted inwards. The inverted buttons have more stringing and imperfection that look like splinters.

Shockingly- it did! I also tried inverting the pattern, but that seemed to have the opposite effect. Time to make some more designs, I guess.


Digital sketches of four button designs. The bottom left is the sihouette of a bluebell flower standing over simple lines representing water, the bottom right shows the star-shaped flowers of a head of wild garlic and the top two are a silhouette design of a water shrew lying next to a flower. On the left the shrew is whole and the flower is a bud, but on the right the shrew is a skeleton and the flower is blooming.

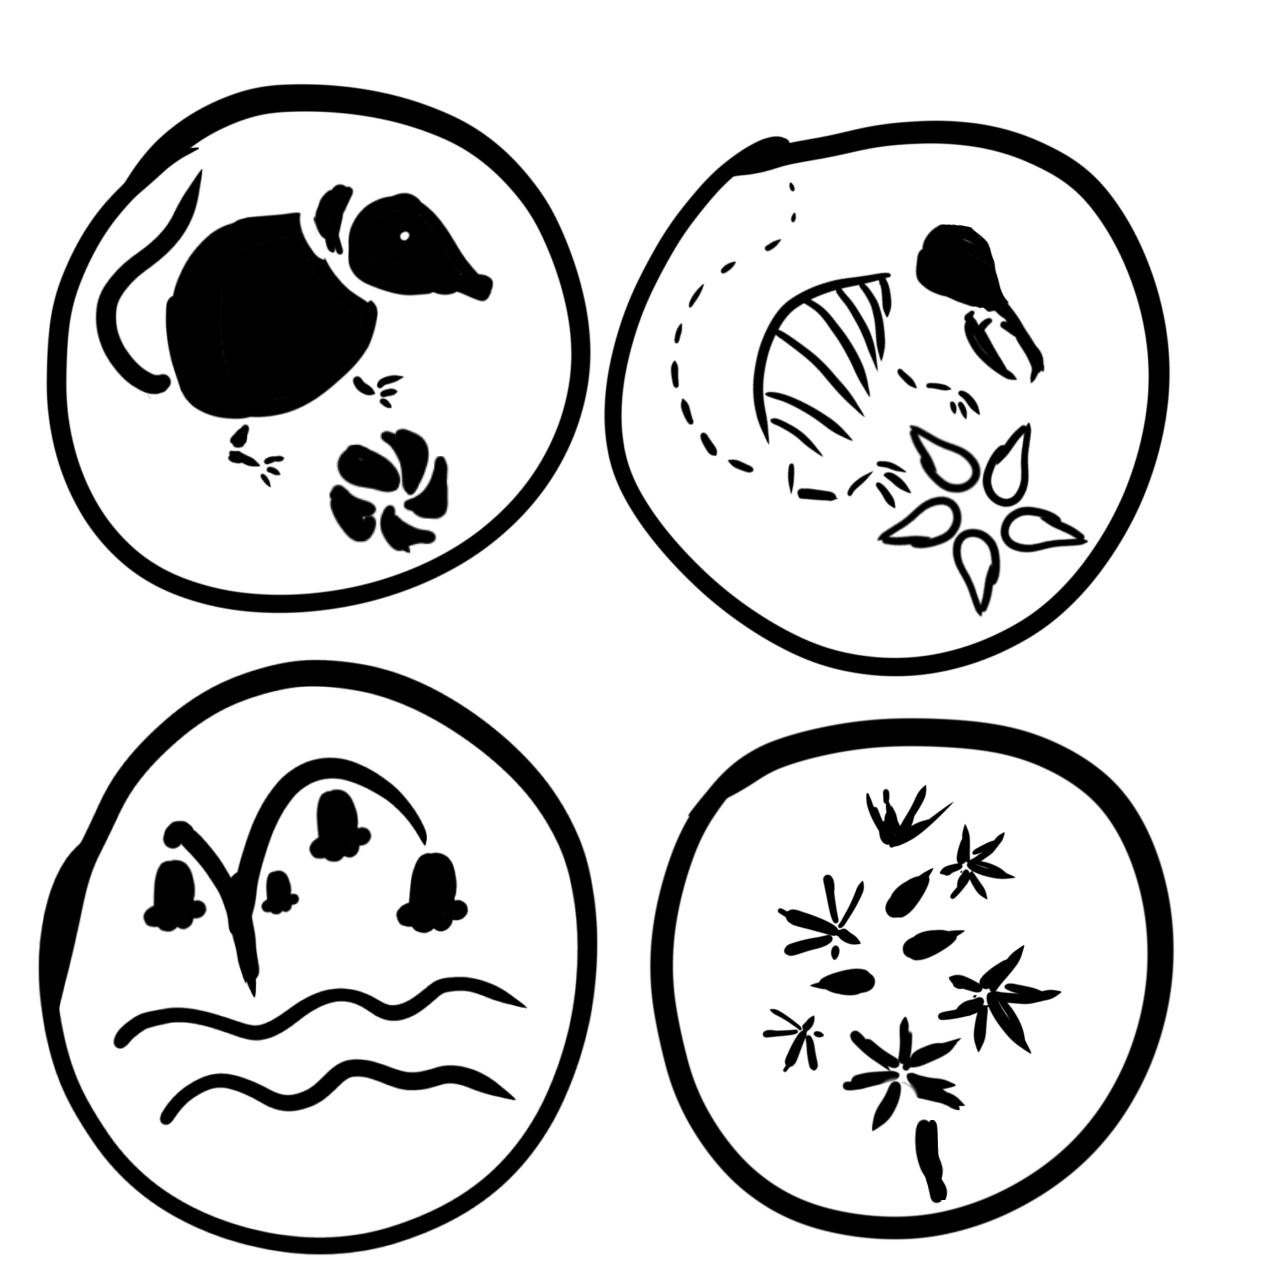
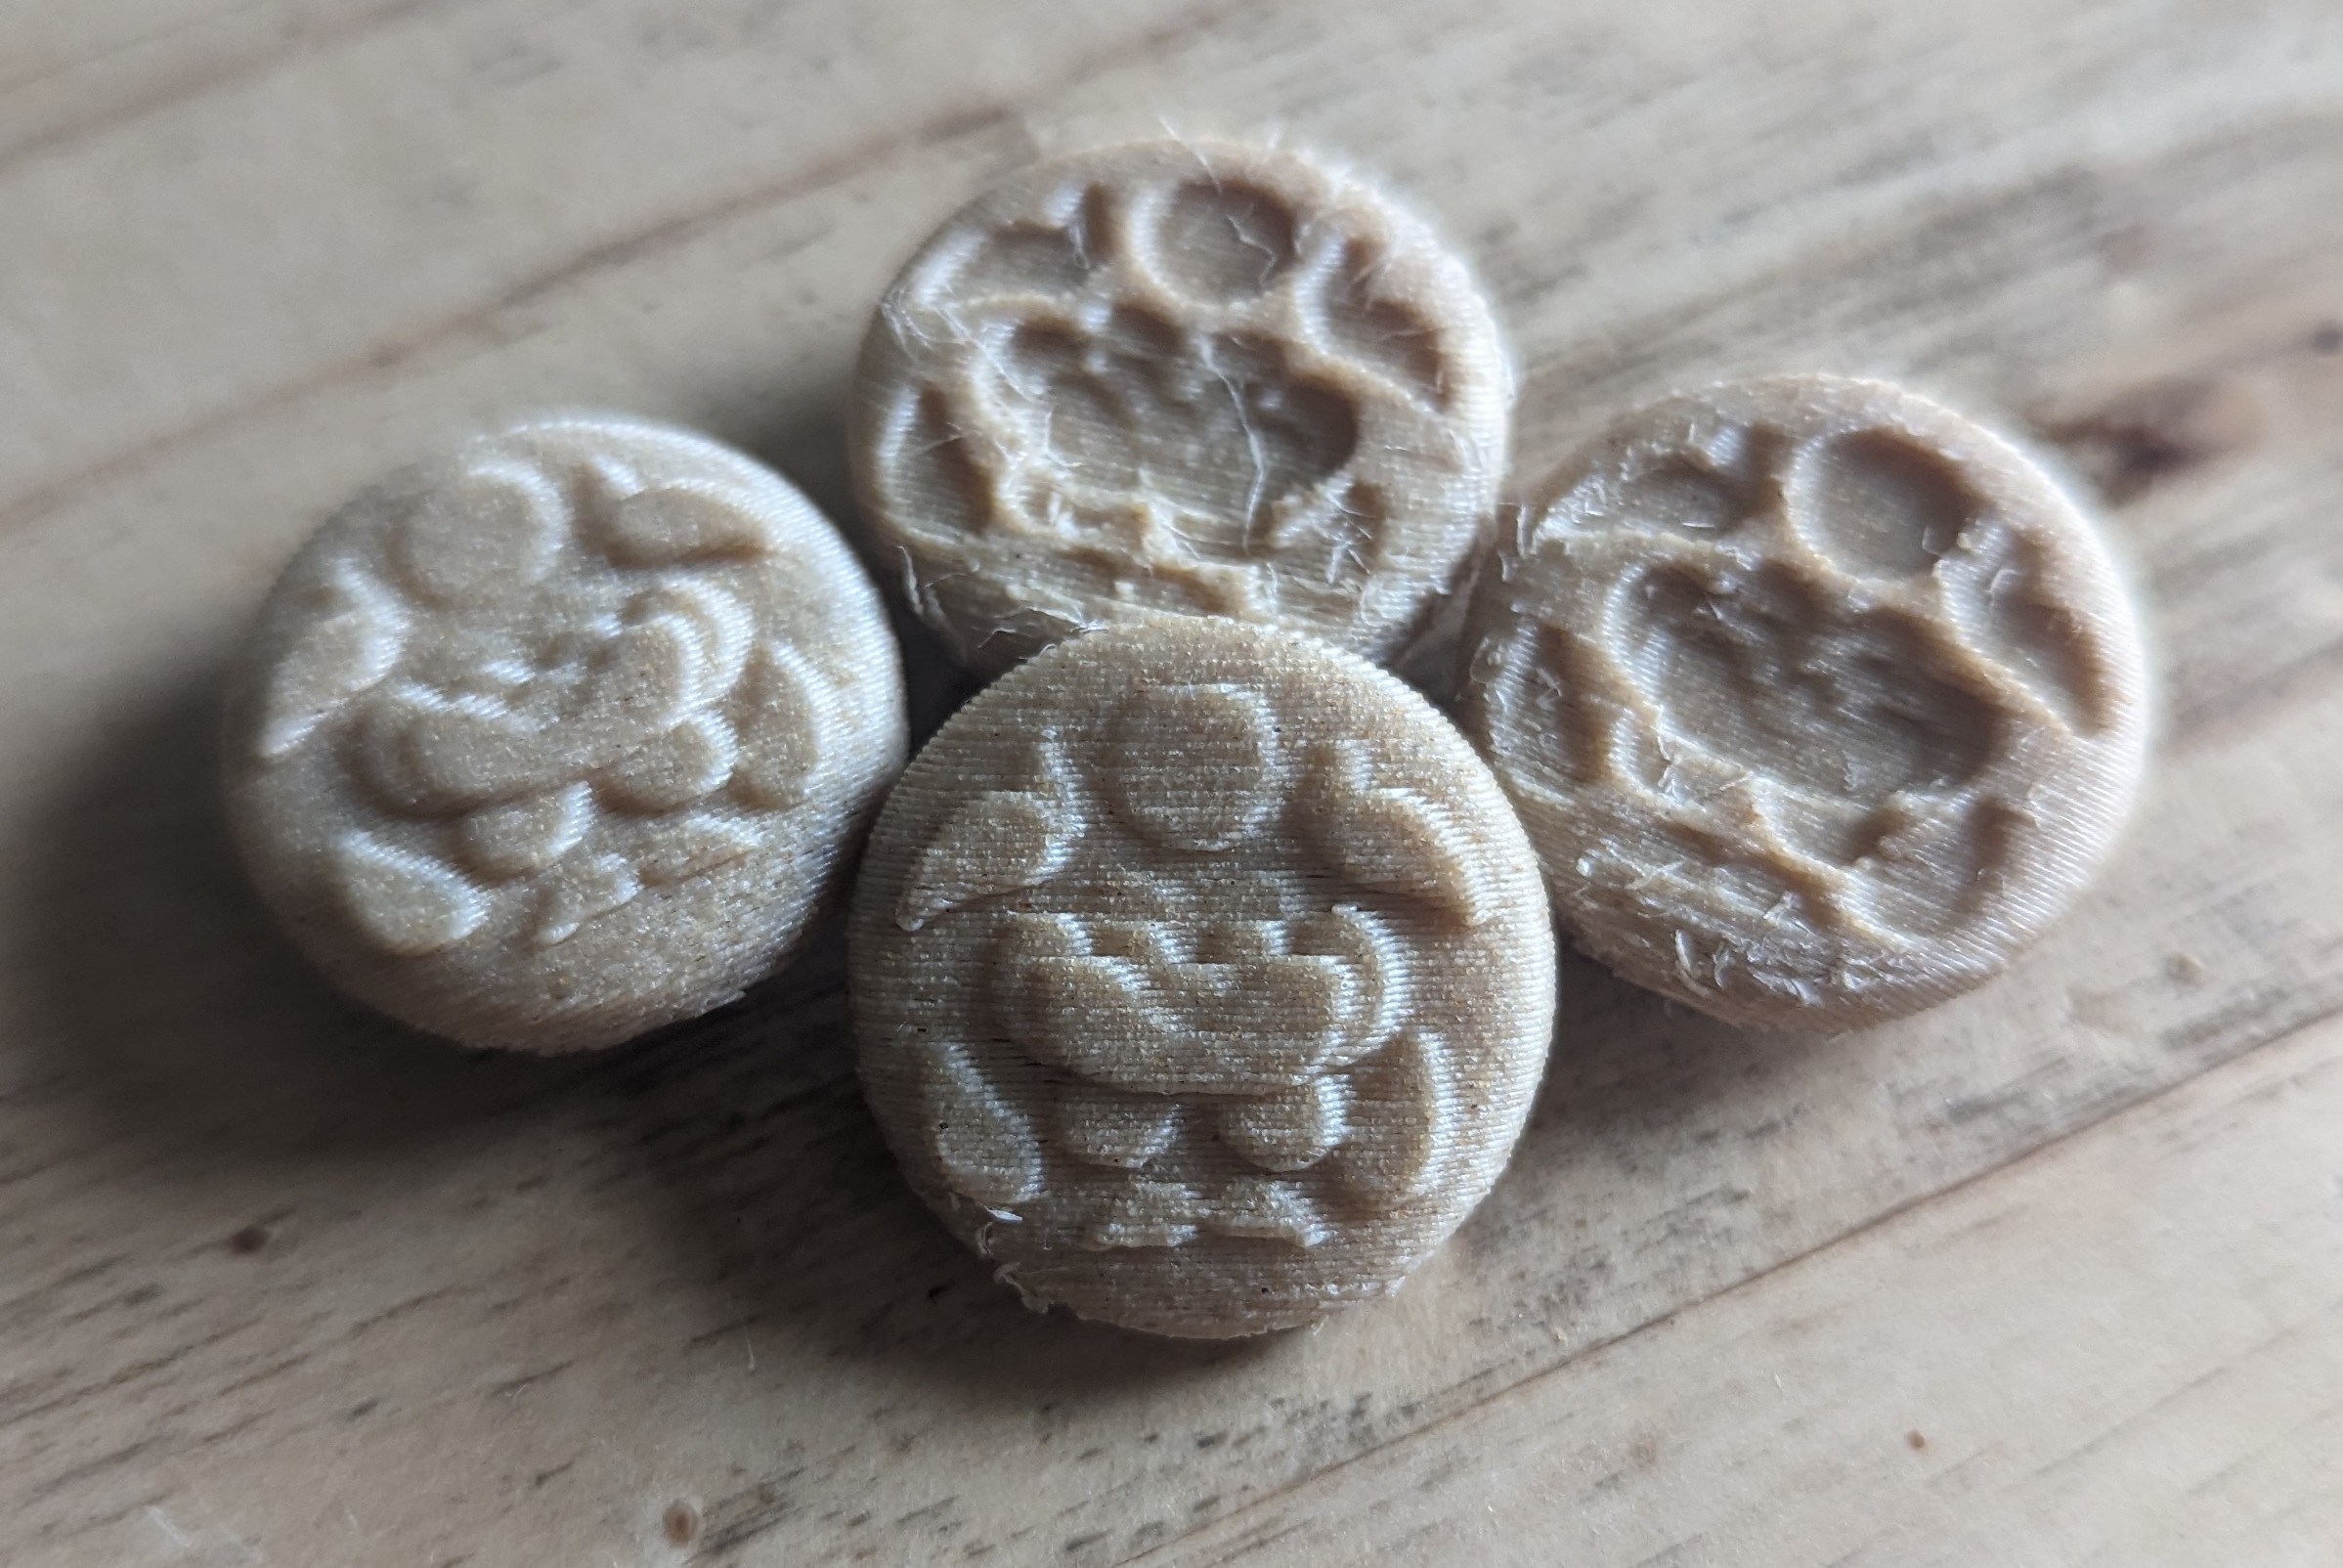
These are based on local wildlife, with bluebells, wild garlic flowers and a water shrew design I plan to make as a double-sided medallion or charm.

Photos of two 3d printed buttons. They have the bluebell and garlic designs sketched earlier, but the bluebells are soft shapes that are a bit fuzzy as they potrude from the button, and the garlic flowers are so small and there's so many of them that it's difficult to interpret against the grain line.

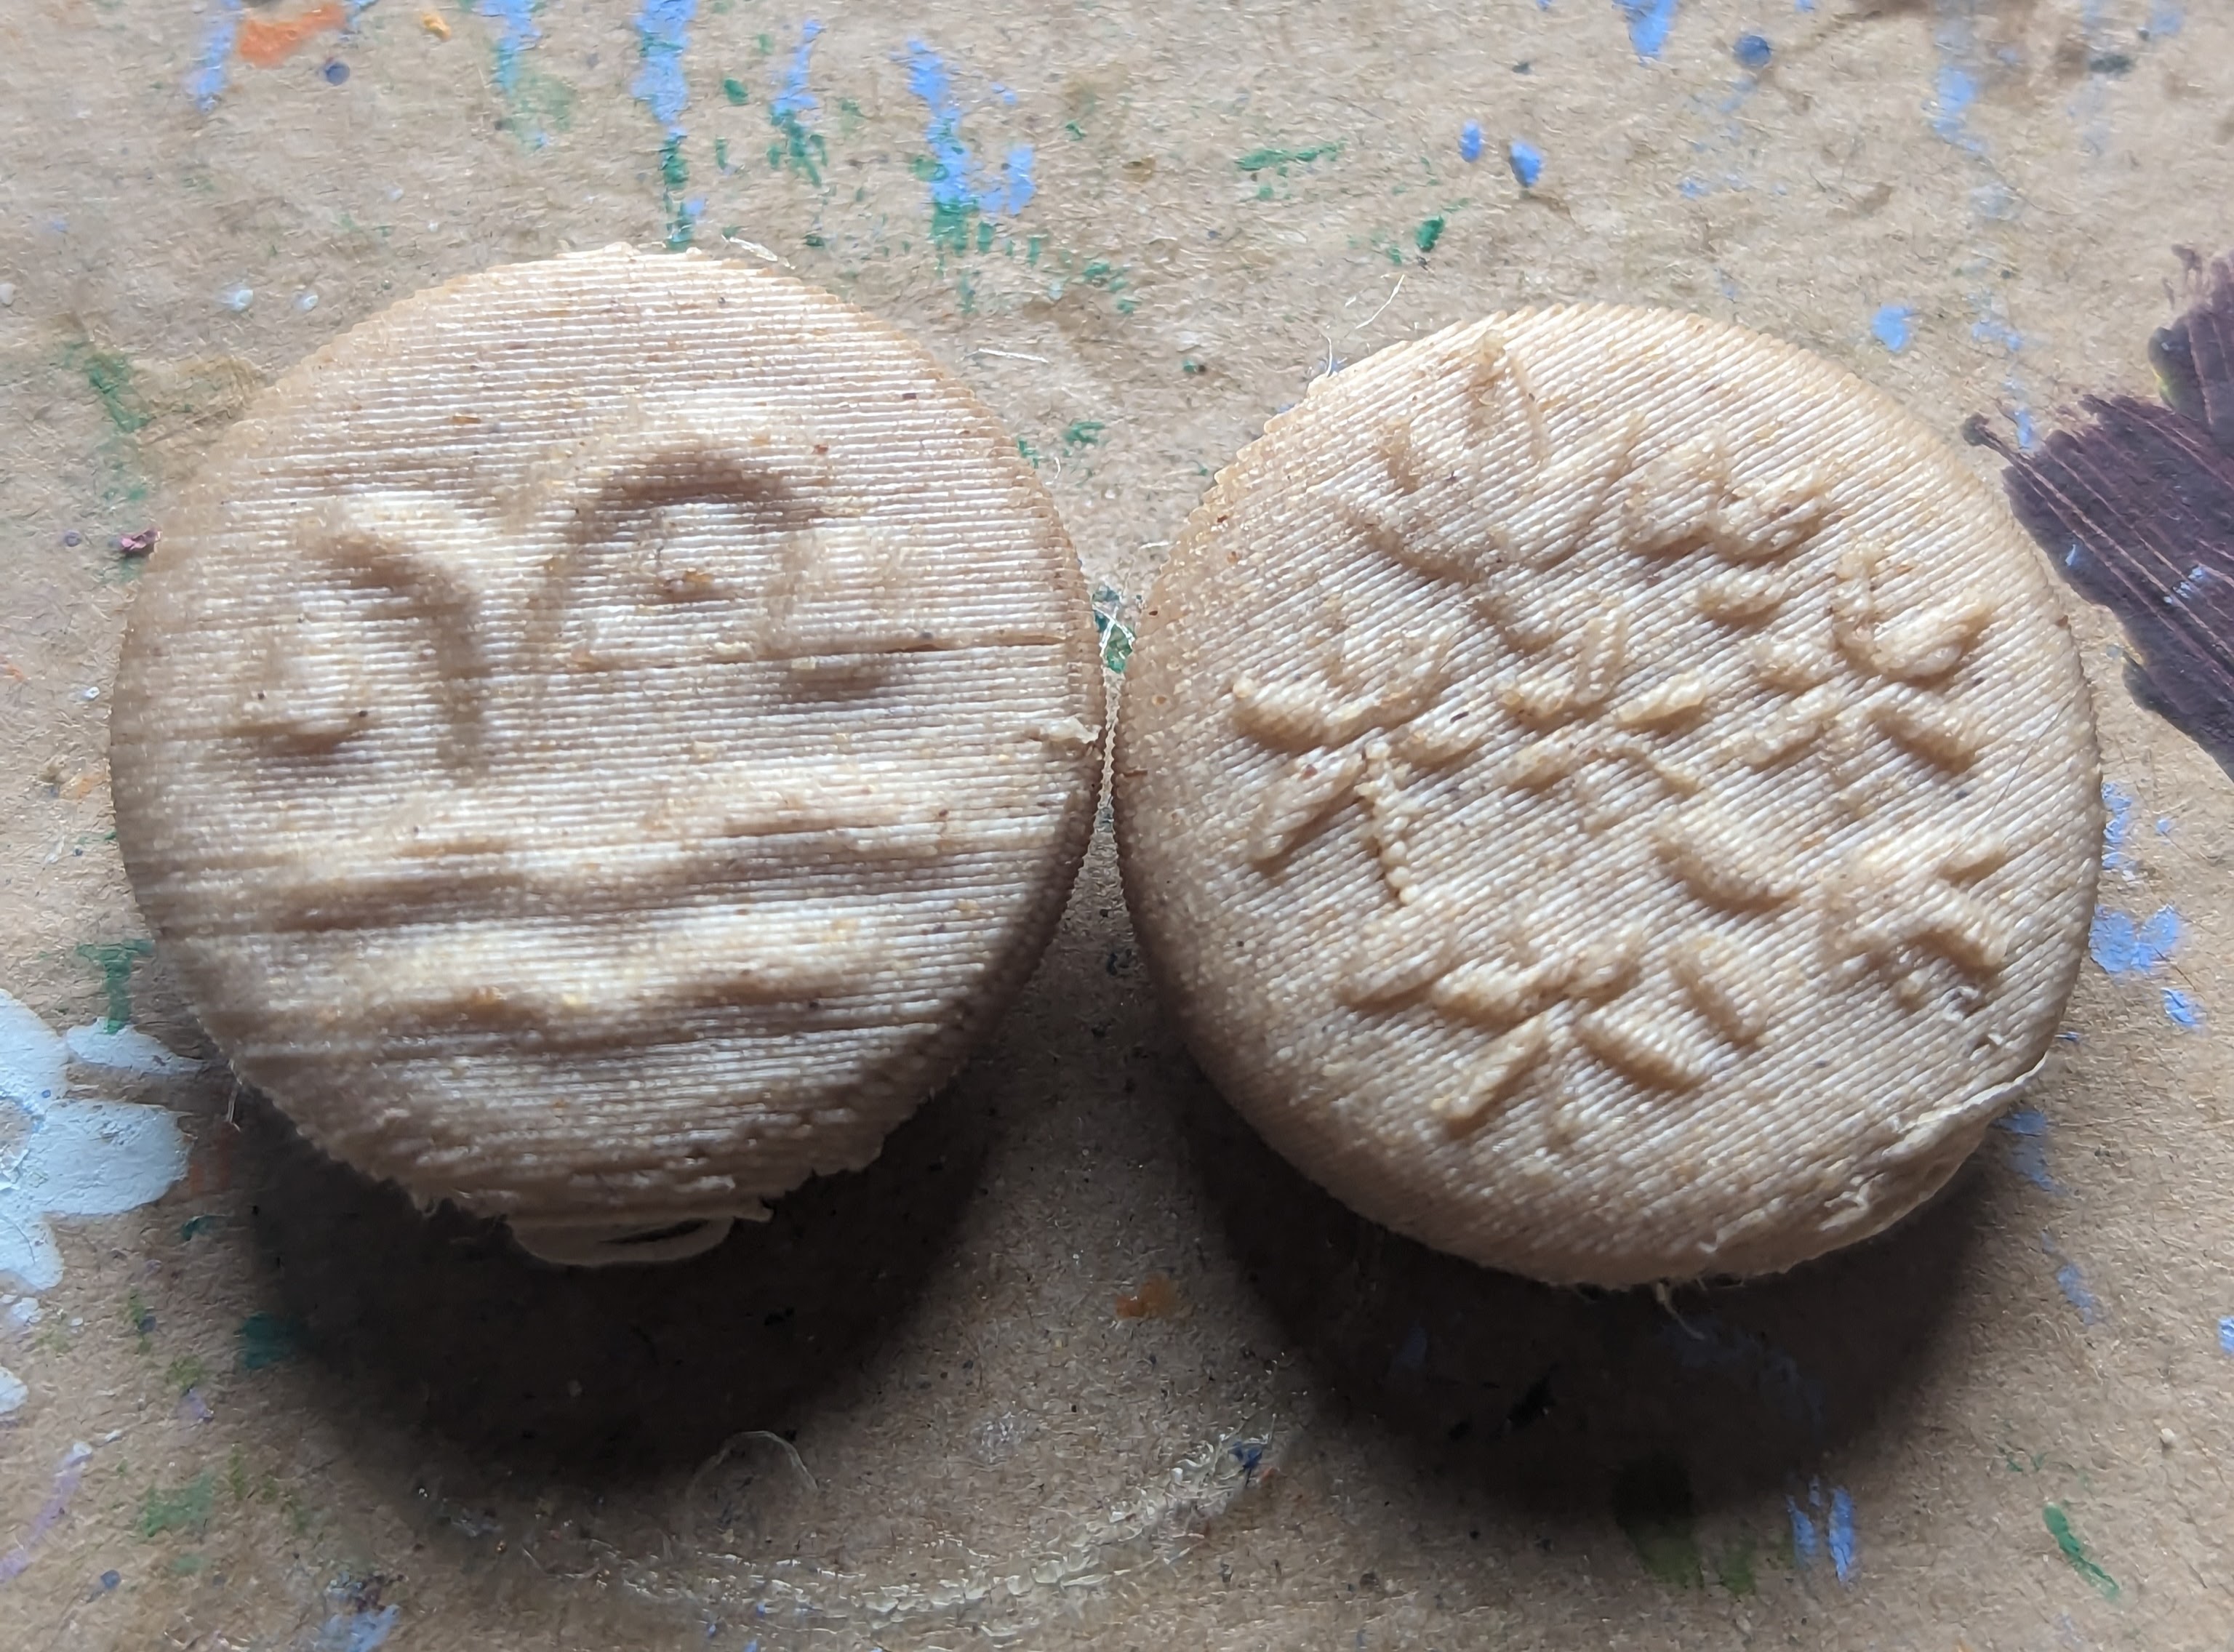
These two printed well, but the designs still need some work for readability. The bluebells are a bit unclear, and the garlic flowers are sharp, but too busy. I should go back over them both and make them bolder.


The above bluebell design seen in a 3d modelling software. It has lots of faces and edges, outlined in black, forming smooth contour lines around its soft curves. The bluebell design in 3d modelling software, made with each solid shape a seperate, simple shape. There are no clear outlines on them, but there are boxes roughly tracing out the shapes

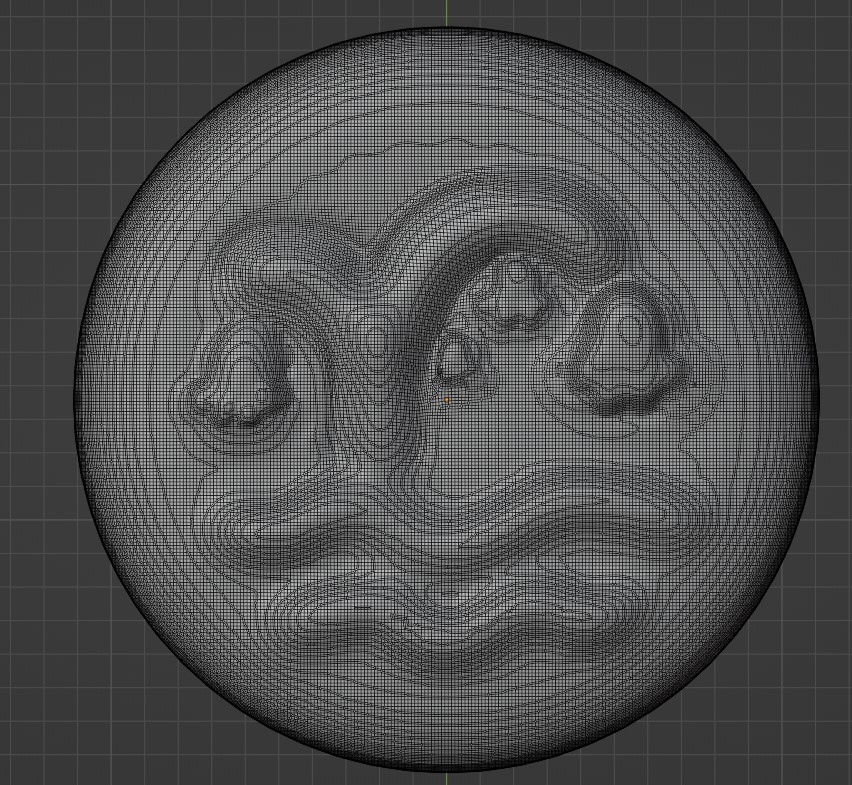
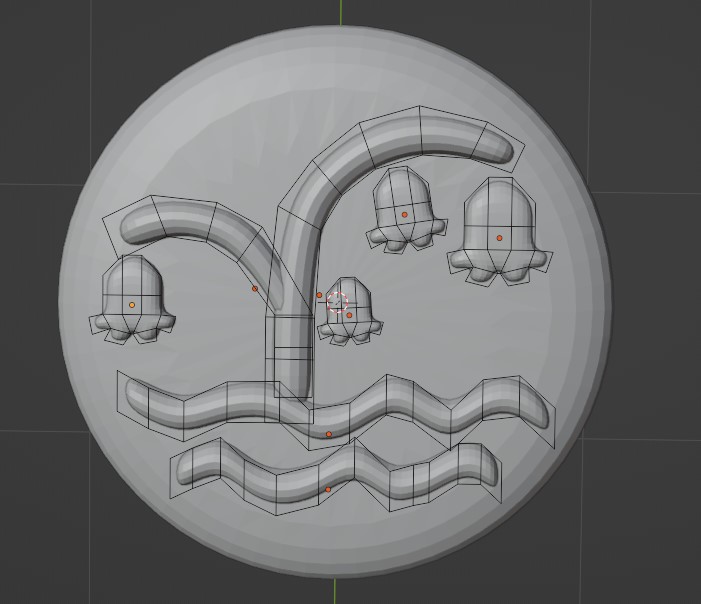
I didn't want to make the bluebell and water design too sharp, but the sculpted approach was obviously too soft. Hopefully using the program to subdivide and round out the sharper shapes I used for the garlic and lotus buttons will work out. Those boxes you can see are the 'real' shapes here, and the computer is automatically rounding them out.